How to learn to machine embroider.
2 November 2015
Step 1.
[ It’s advisable that you want to learn to embroider. ]
Make sure you over-saturate yourself with ideas on Pinterest.
Step 2.
Buy either an embroidering hoop or/and a sewing machine and some colourful threads.
Step 3.
Plan something small you can practice on.
Step 4.
Start.
Step 1 & 2:
My ‘crafty’ background comes from attending a craft school during two summers around 10/11 years of age and learning beadwork: I can work wire and nylon thread and am unlikely to pull fabric in the wrong direction on a sewing machine. When pressed, I can even stitch a few missing sequins on a dress. However, recently I’ve become enamored with just how many ways you can stitch those sequins on a piece of fabric.
See, I love me some fashion – I love like an art form. To be honest, I don’t have or even want a large wardrobe, but I like pretty dresses. The curiosity started with sequins: there’re cheap sequin dresses (which come at cheap labour cost price), there are expensive sequin dresses (that also may have cheap labour cost price), there are the ones that come from vintage shops in all-you-can-eat horrendous colour combos, and there’s stuff like Alexander McQueen’s work. The problem is that haute-couture embroidery is quite something else – it requires proper skill and tambour frames and potentially super expensive equipment that is at this stage is not something affordable and I don’t know how to use anyway.
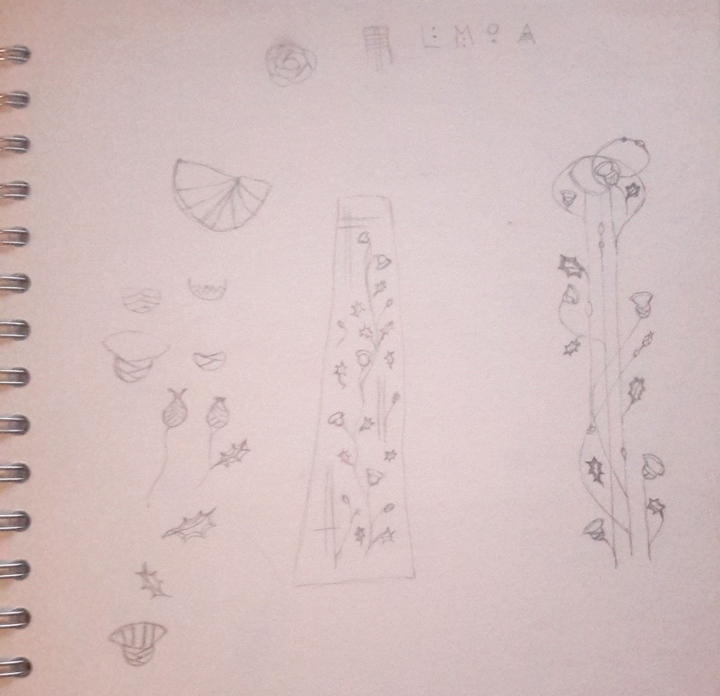
What I do have, is a new nice basic Janome, a needle and a standard small wooden embroidery hoop. At the design stage I wanted to try something fairly simple, but new enough that I would actually learn from the process:
Step 3: I’ve decided to do something based around the Macintoshian rose design – there’s enough complexity in the curves and simplicity in the aesthetic to try to do it on fabric.
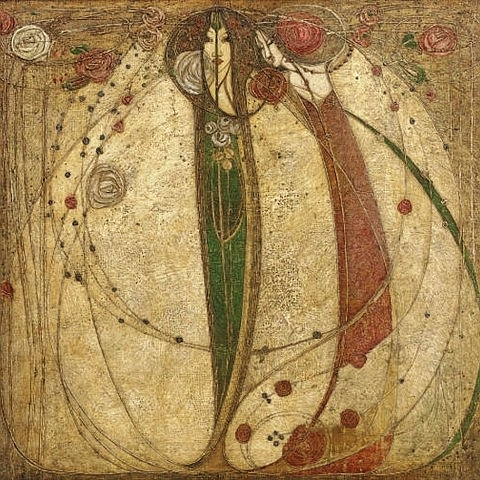
Instead of a rose, I’ve gone with a thistle (M.M.Macintosh is a renowned scottish artist, which makes this possibly more scottish than necessary…):
I also found a cheap velvet skirt in the nearby vintage store:
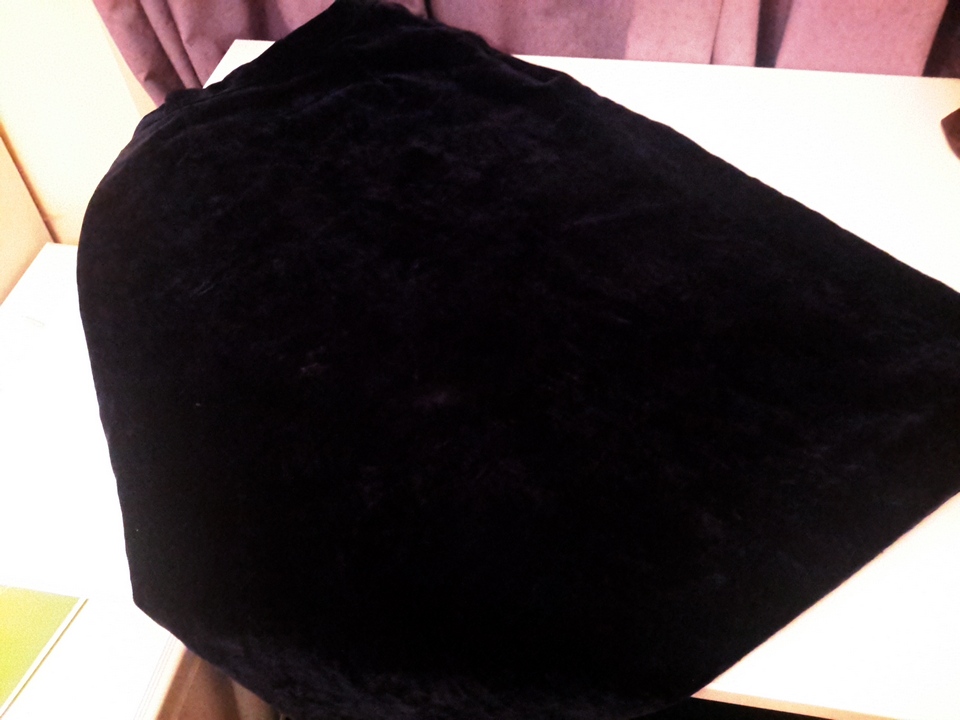 (It has dark blue quality to it, as unseen on a mediocre picture here.)
..and decided to combine the two together.
Step 4.
Machine embroidery in itself is fairly easy to conceptualise: you put your fabric tight (like a drum) in the hoop, take the presser foot off, release the feed dog, put the hoop under the needle, start stitching (remembering to set the needle speed as slow as possible) by pulling and turning the hoop so that the thread shows on the fabric without tearing it. There are actually a bunch of videos available on youtube from professionals about the subject. The trick is as usual – practice.
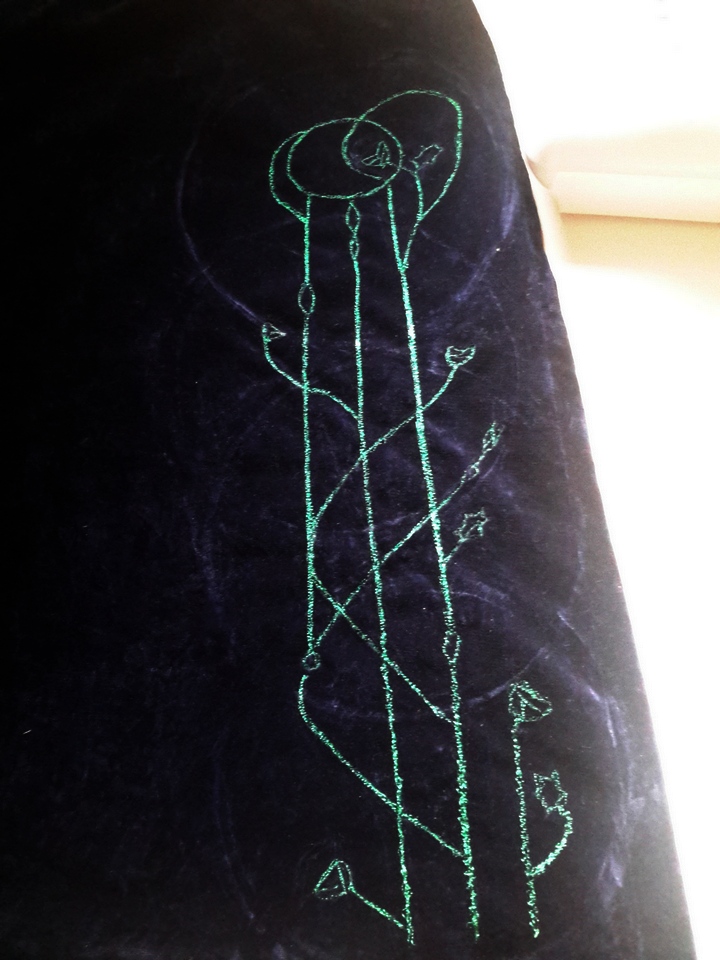
And so I sketched the pattern on the fabric and started the job on the outlines:
Next was the ‘colouring’ stage:
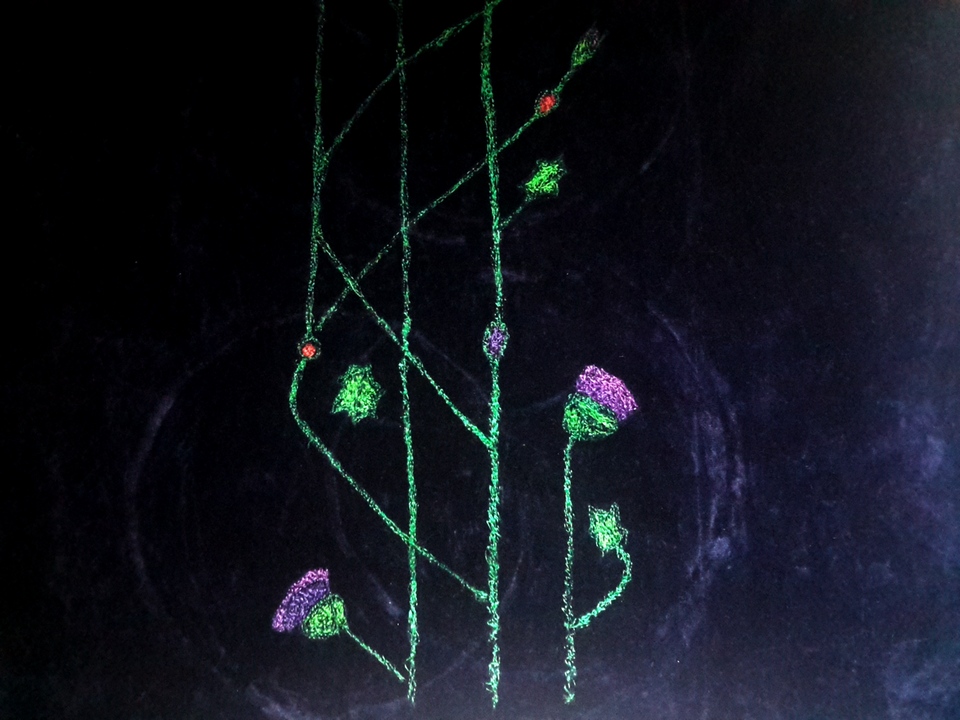
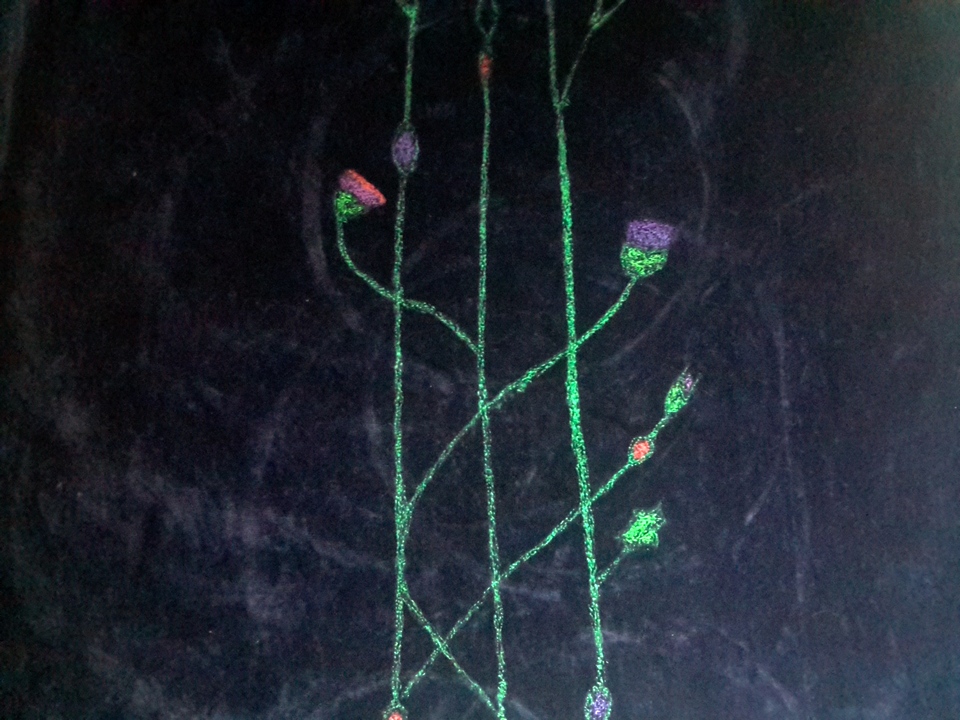
And then voila, the finish:
 .
.
Overall I’m happy with it, but I really need to take a better picture (preferably bribe a friend to put it on), but that’s something for future edits.
Post Scriptum:
THINGS THEY DON’T TELL YOU, or aren’t immediately obvious.
– The fabric must be fairly tough to take the pull of the thread.
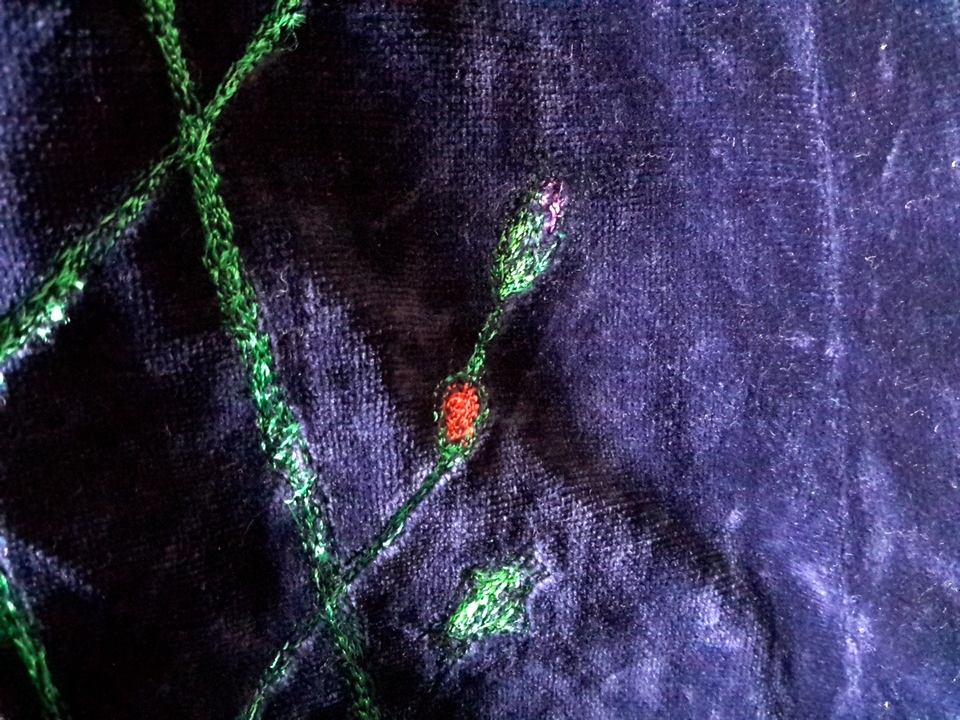
– Fabric like velvet gets mashed from the hoop and may leave strong circle marks (as can be seen in my pictures).
– Bobbin thread can catch back on itself and mess up a LOT, so be very aware of what is happening on the back.
Things that are more obvious:
– It is easier to embroider a panel of a yet-unmade garment than twist the fully made one around.
I like how the skirt came out though.