
How to make a bench.
8 May 2016
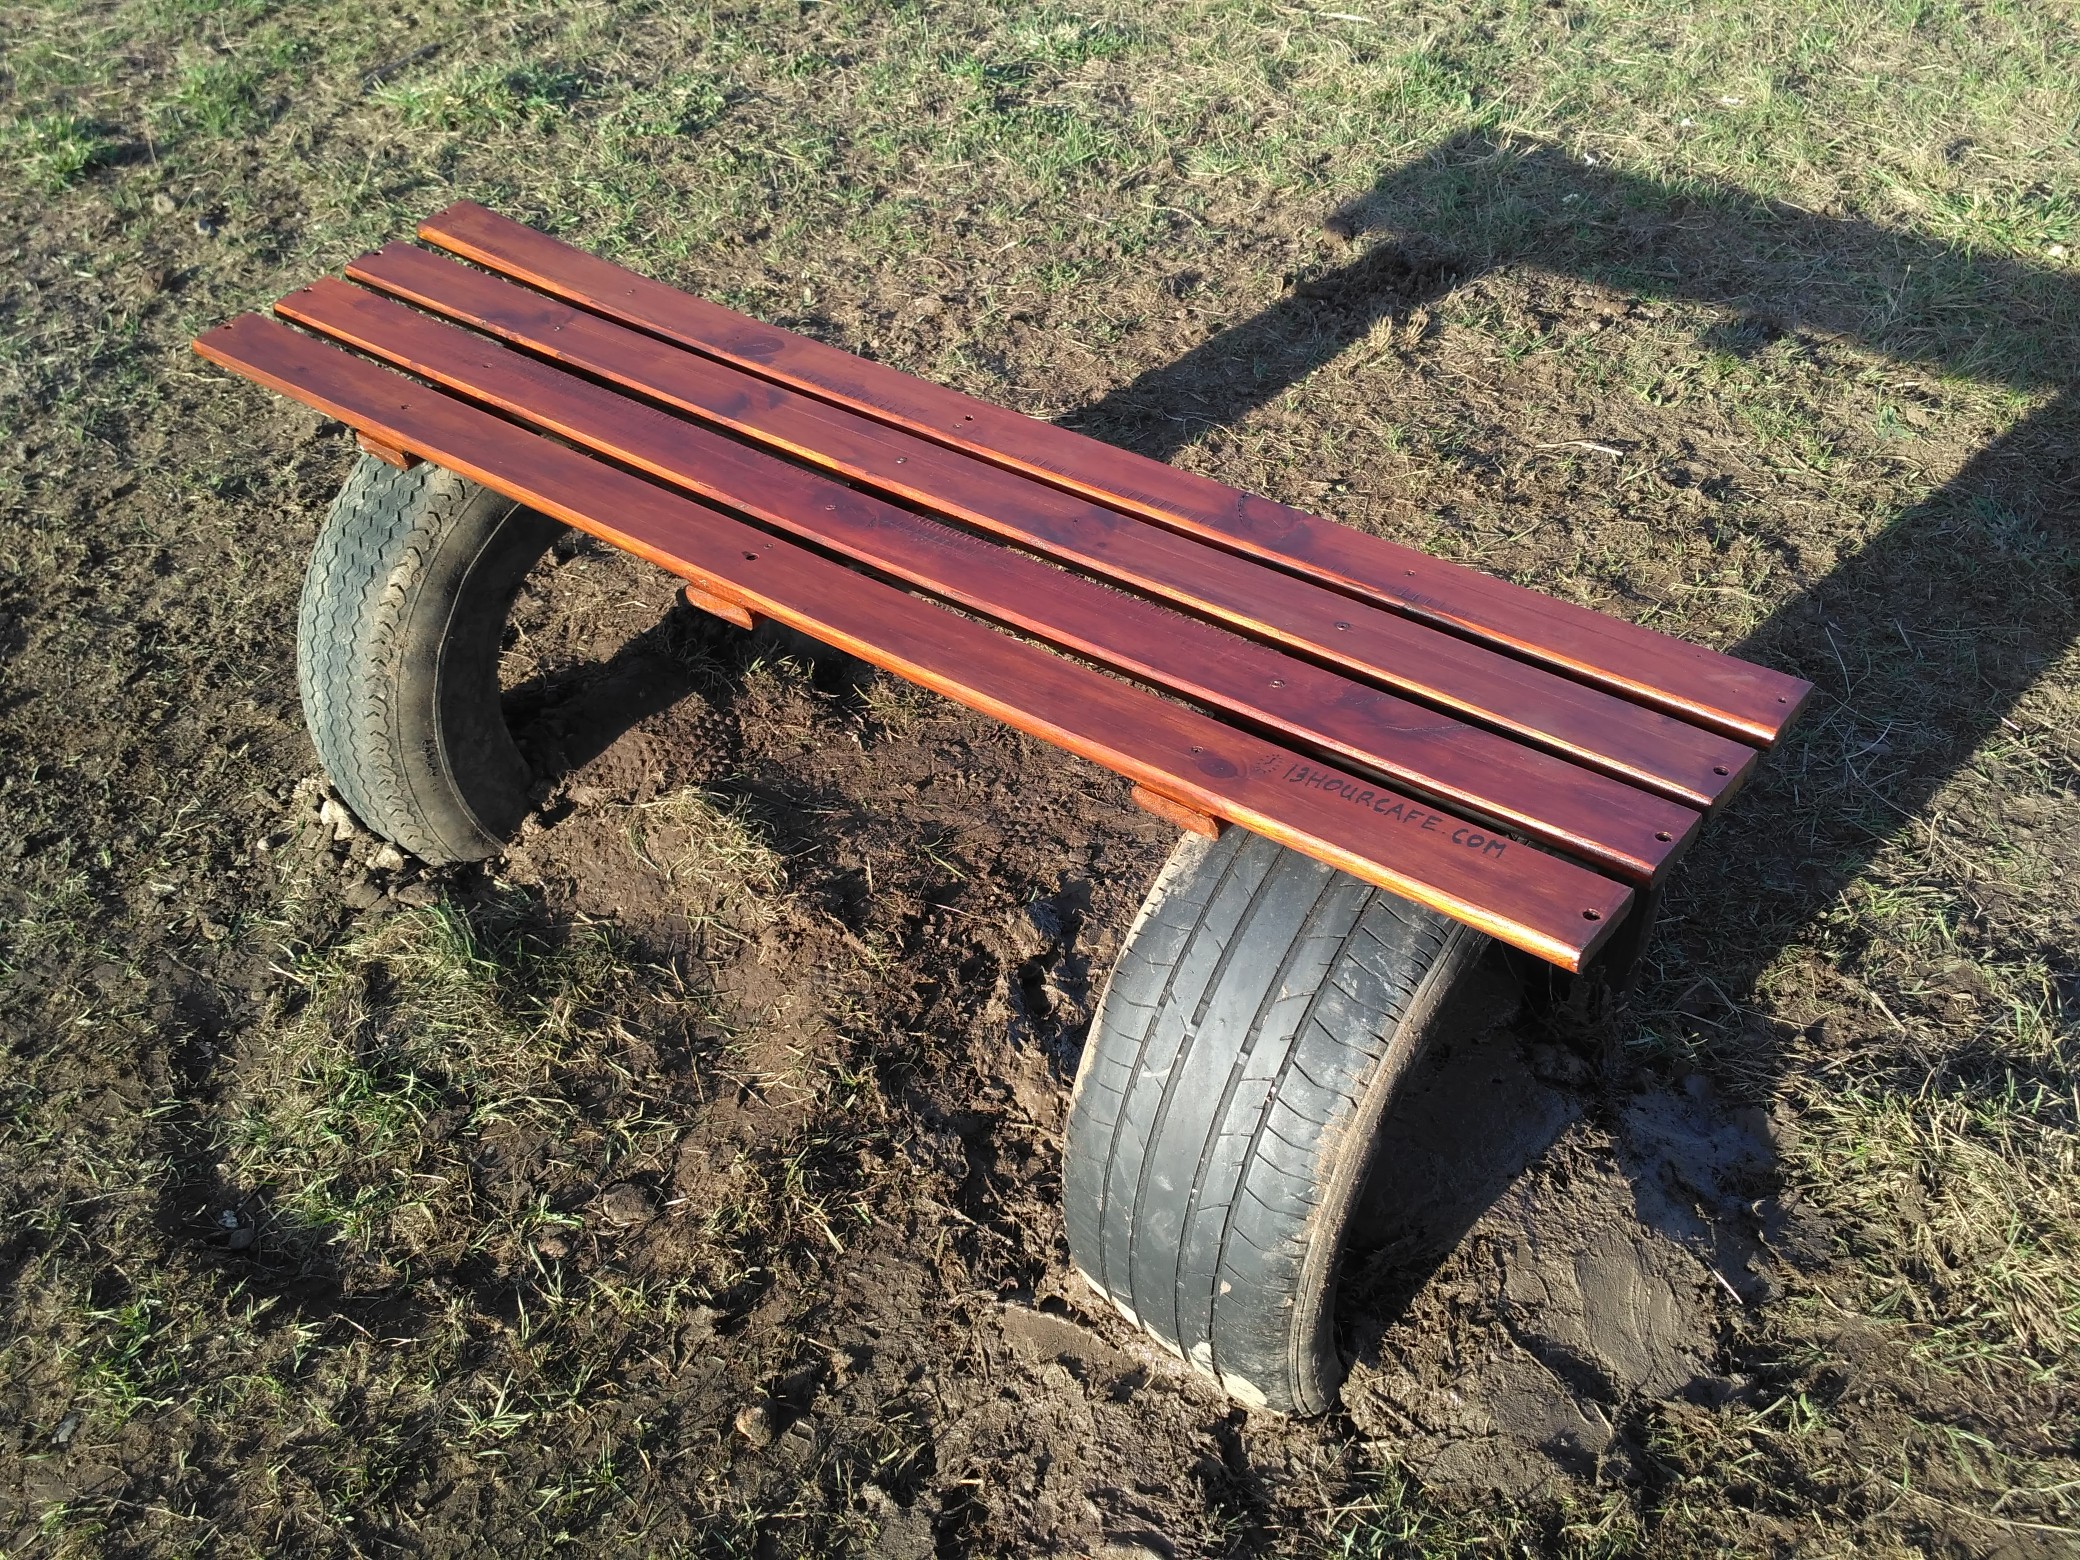
The 13hourcafe.com bench.
The theory.
You need:
- A place that is asking for a bench.
- Spare wooden planks.
- Spare robust car tyres.
- A saw.
- A few long screws.
- A screwdriver of your choice.
- A shovel.
- Outdoor wood stain.
The process is fairly simple: take the wooden planks, measure, align, cut into appropriate lengths. Paint with the wood stain, screw the planks together, paint again. Dig a hole for the tyres, put the tyres in, put the seat on top, screw the planks to the rubber. Straightforward, eh? But oh no (!) here come the quirks.
The practice.
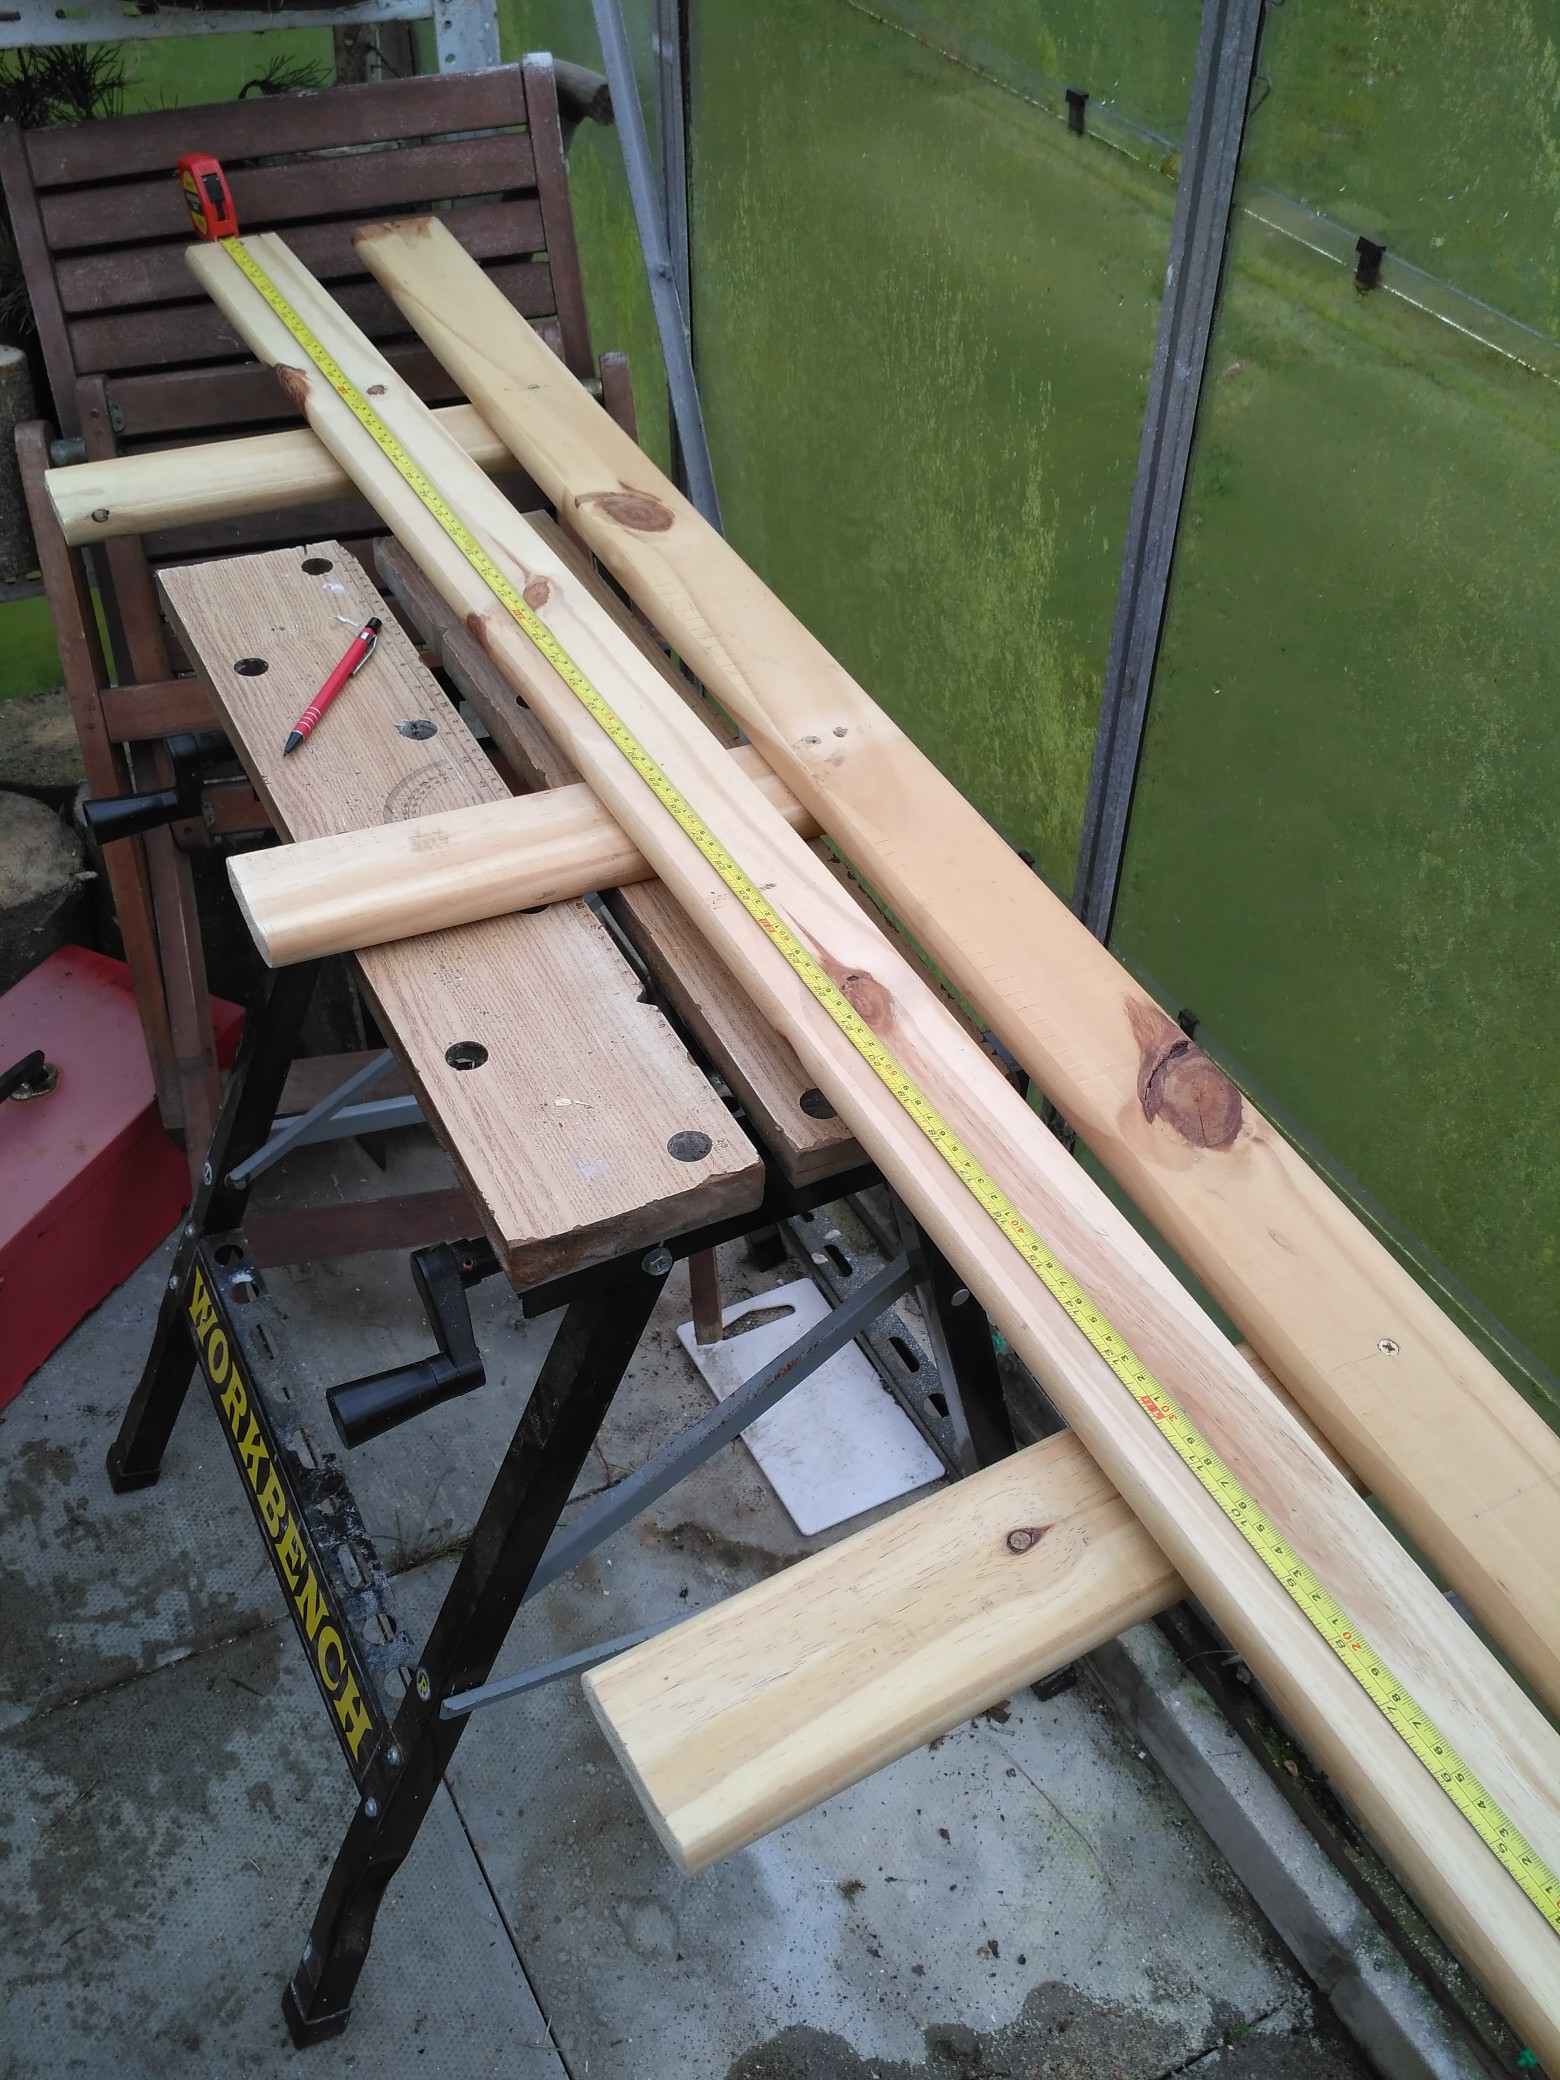
- Wooden planks in question came from an old double bed.
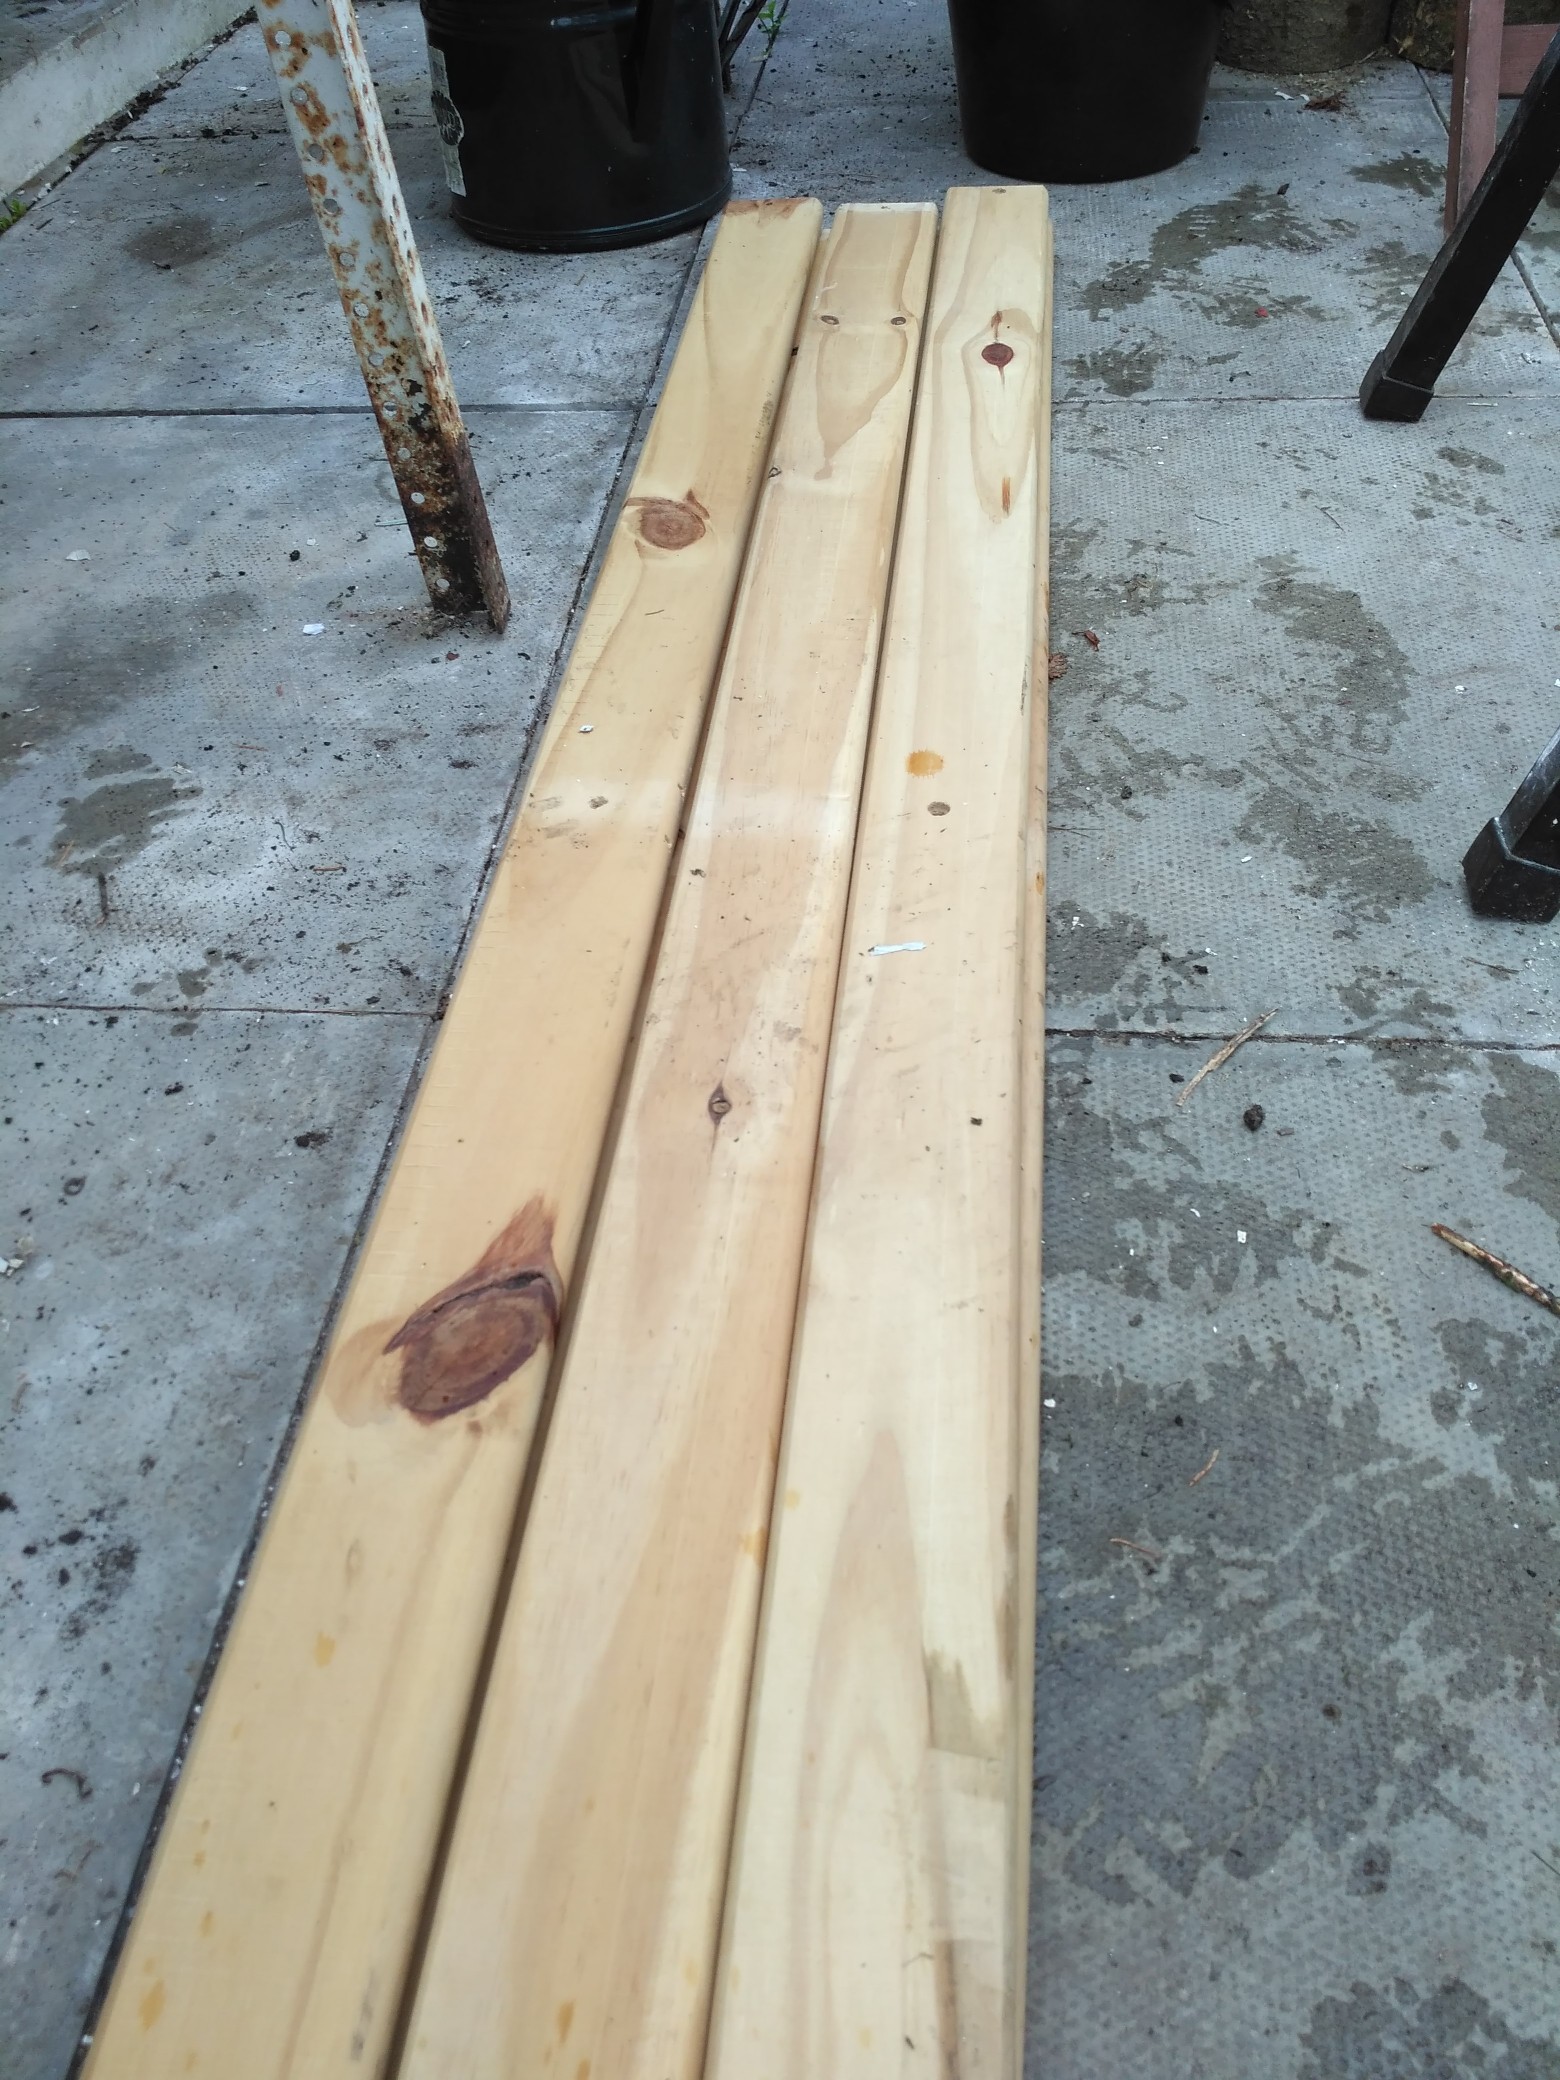
2. Upon inspection they happen to be bent all over. Since the bend is fairly gradual, I chose the straightest ones and assumed that they can be straightened out enough by fixing the screws.
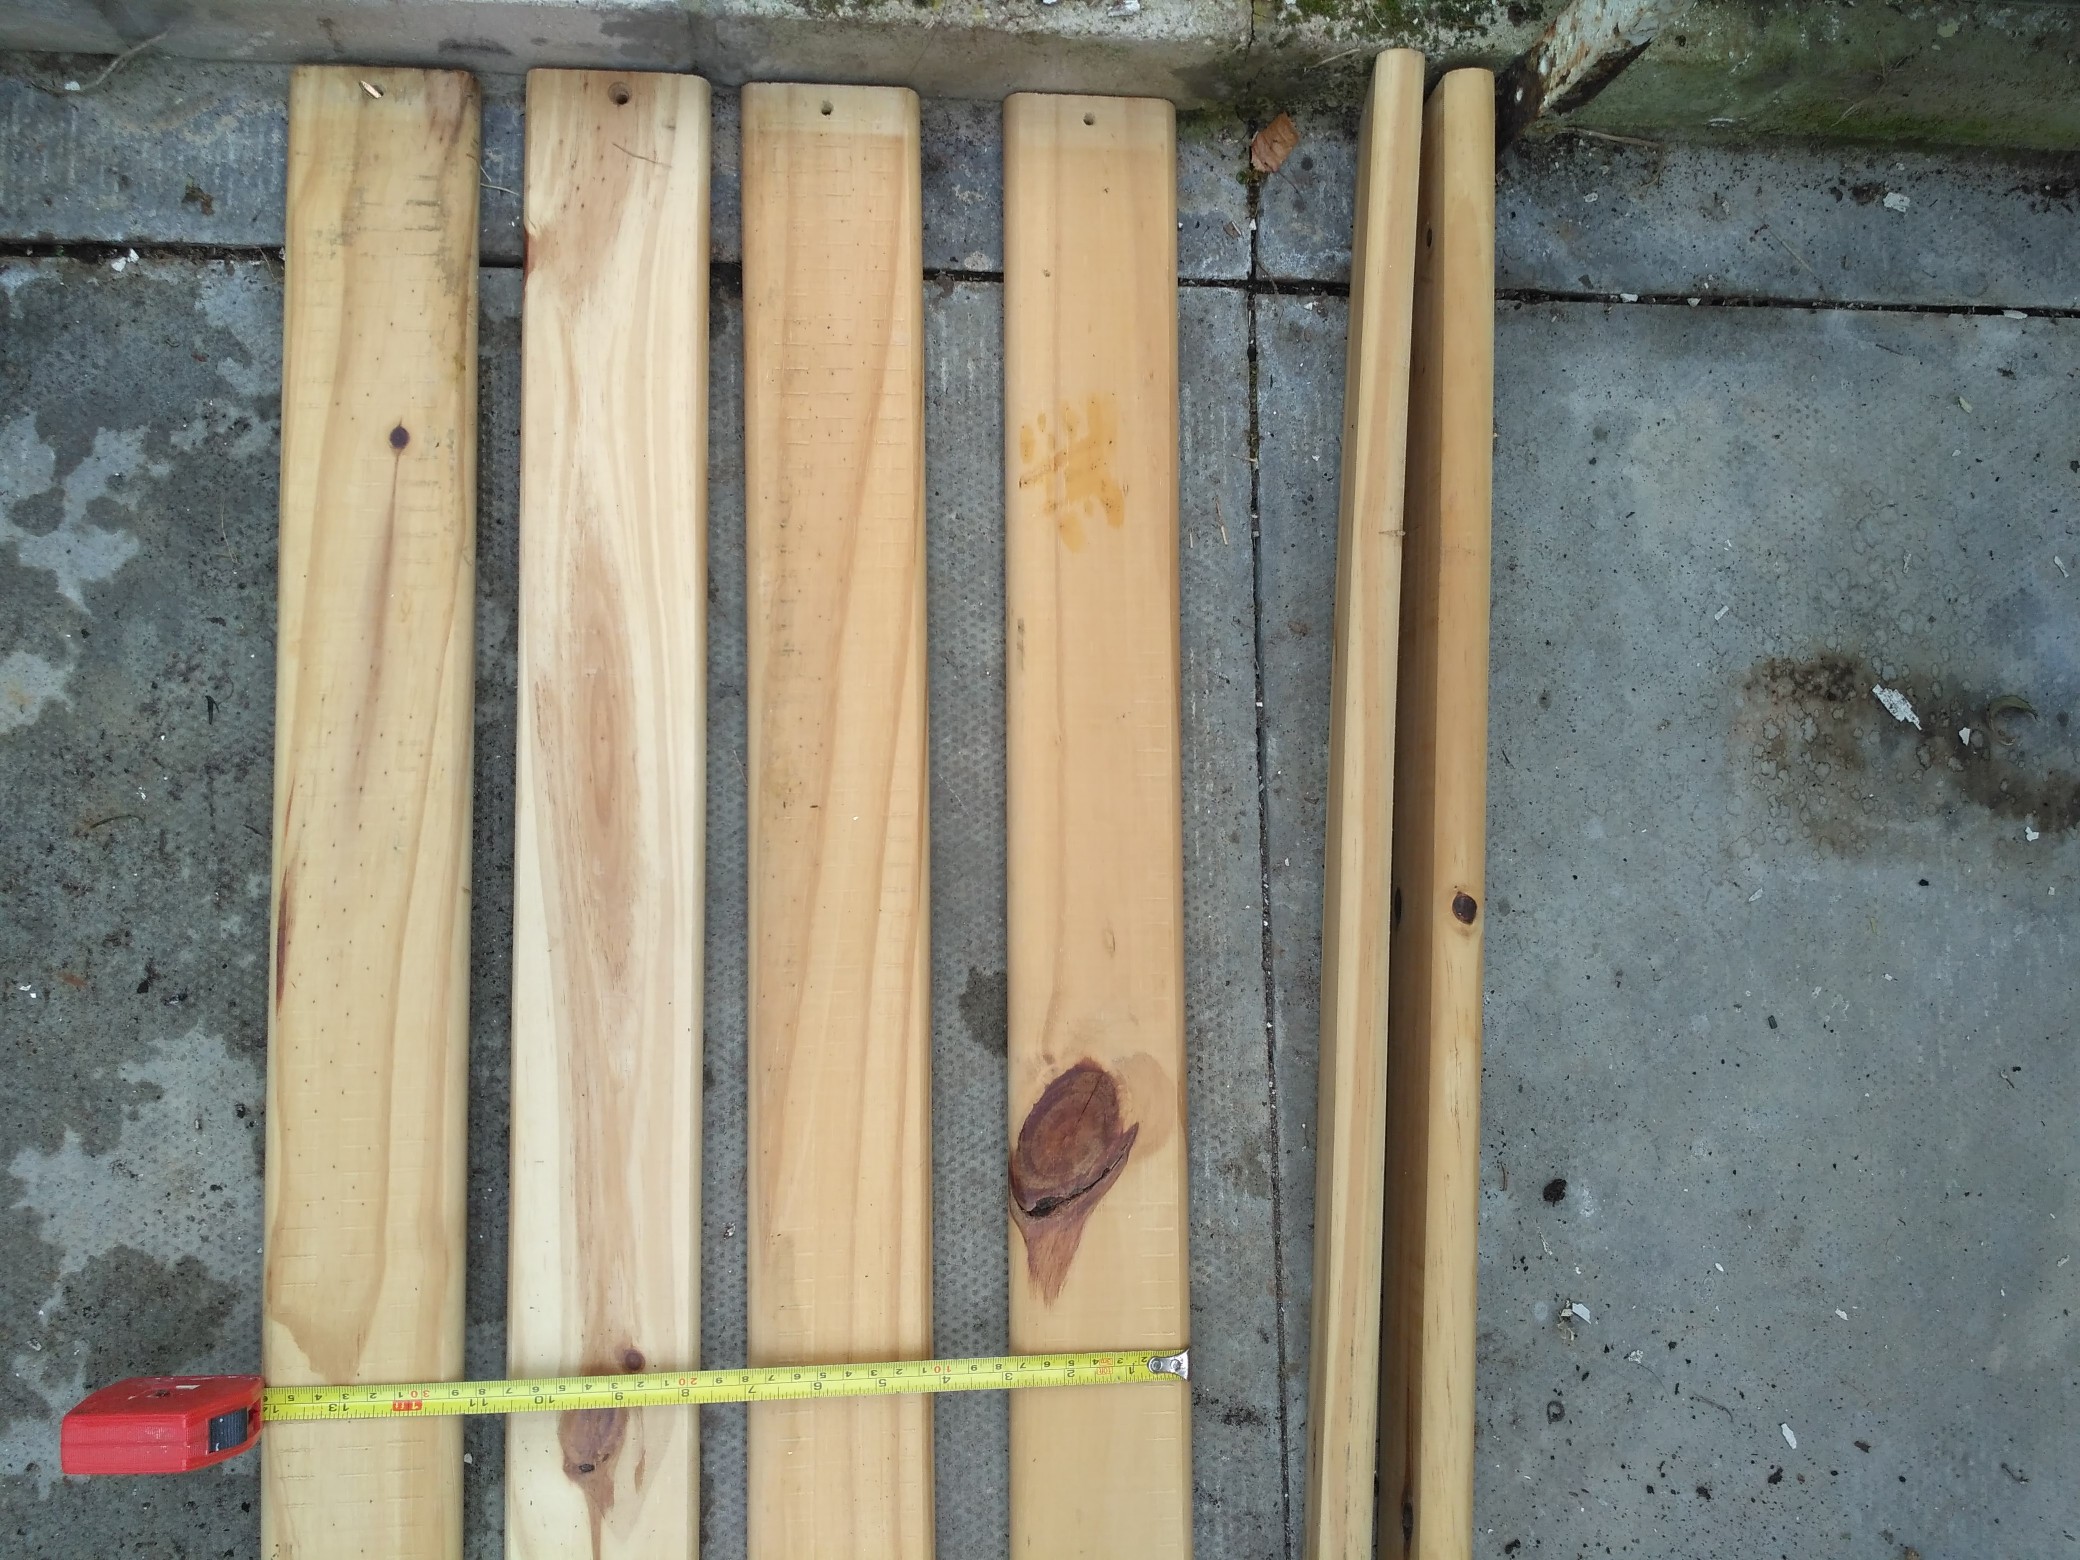
3. After measuring and planning, very crudely, on a piece of scrap paper, I’ve cut one of the planks into appropriate lengths to go under the long planks.
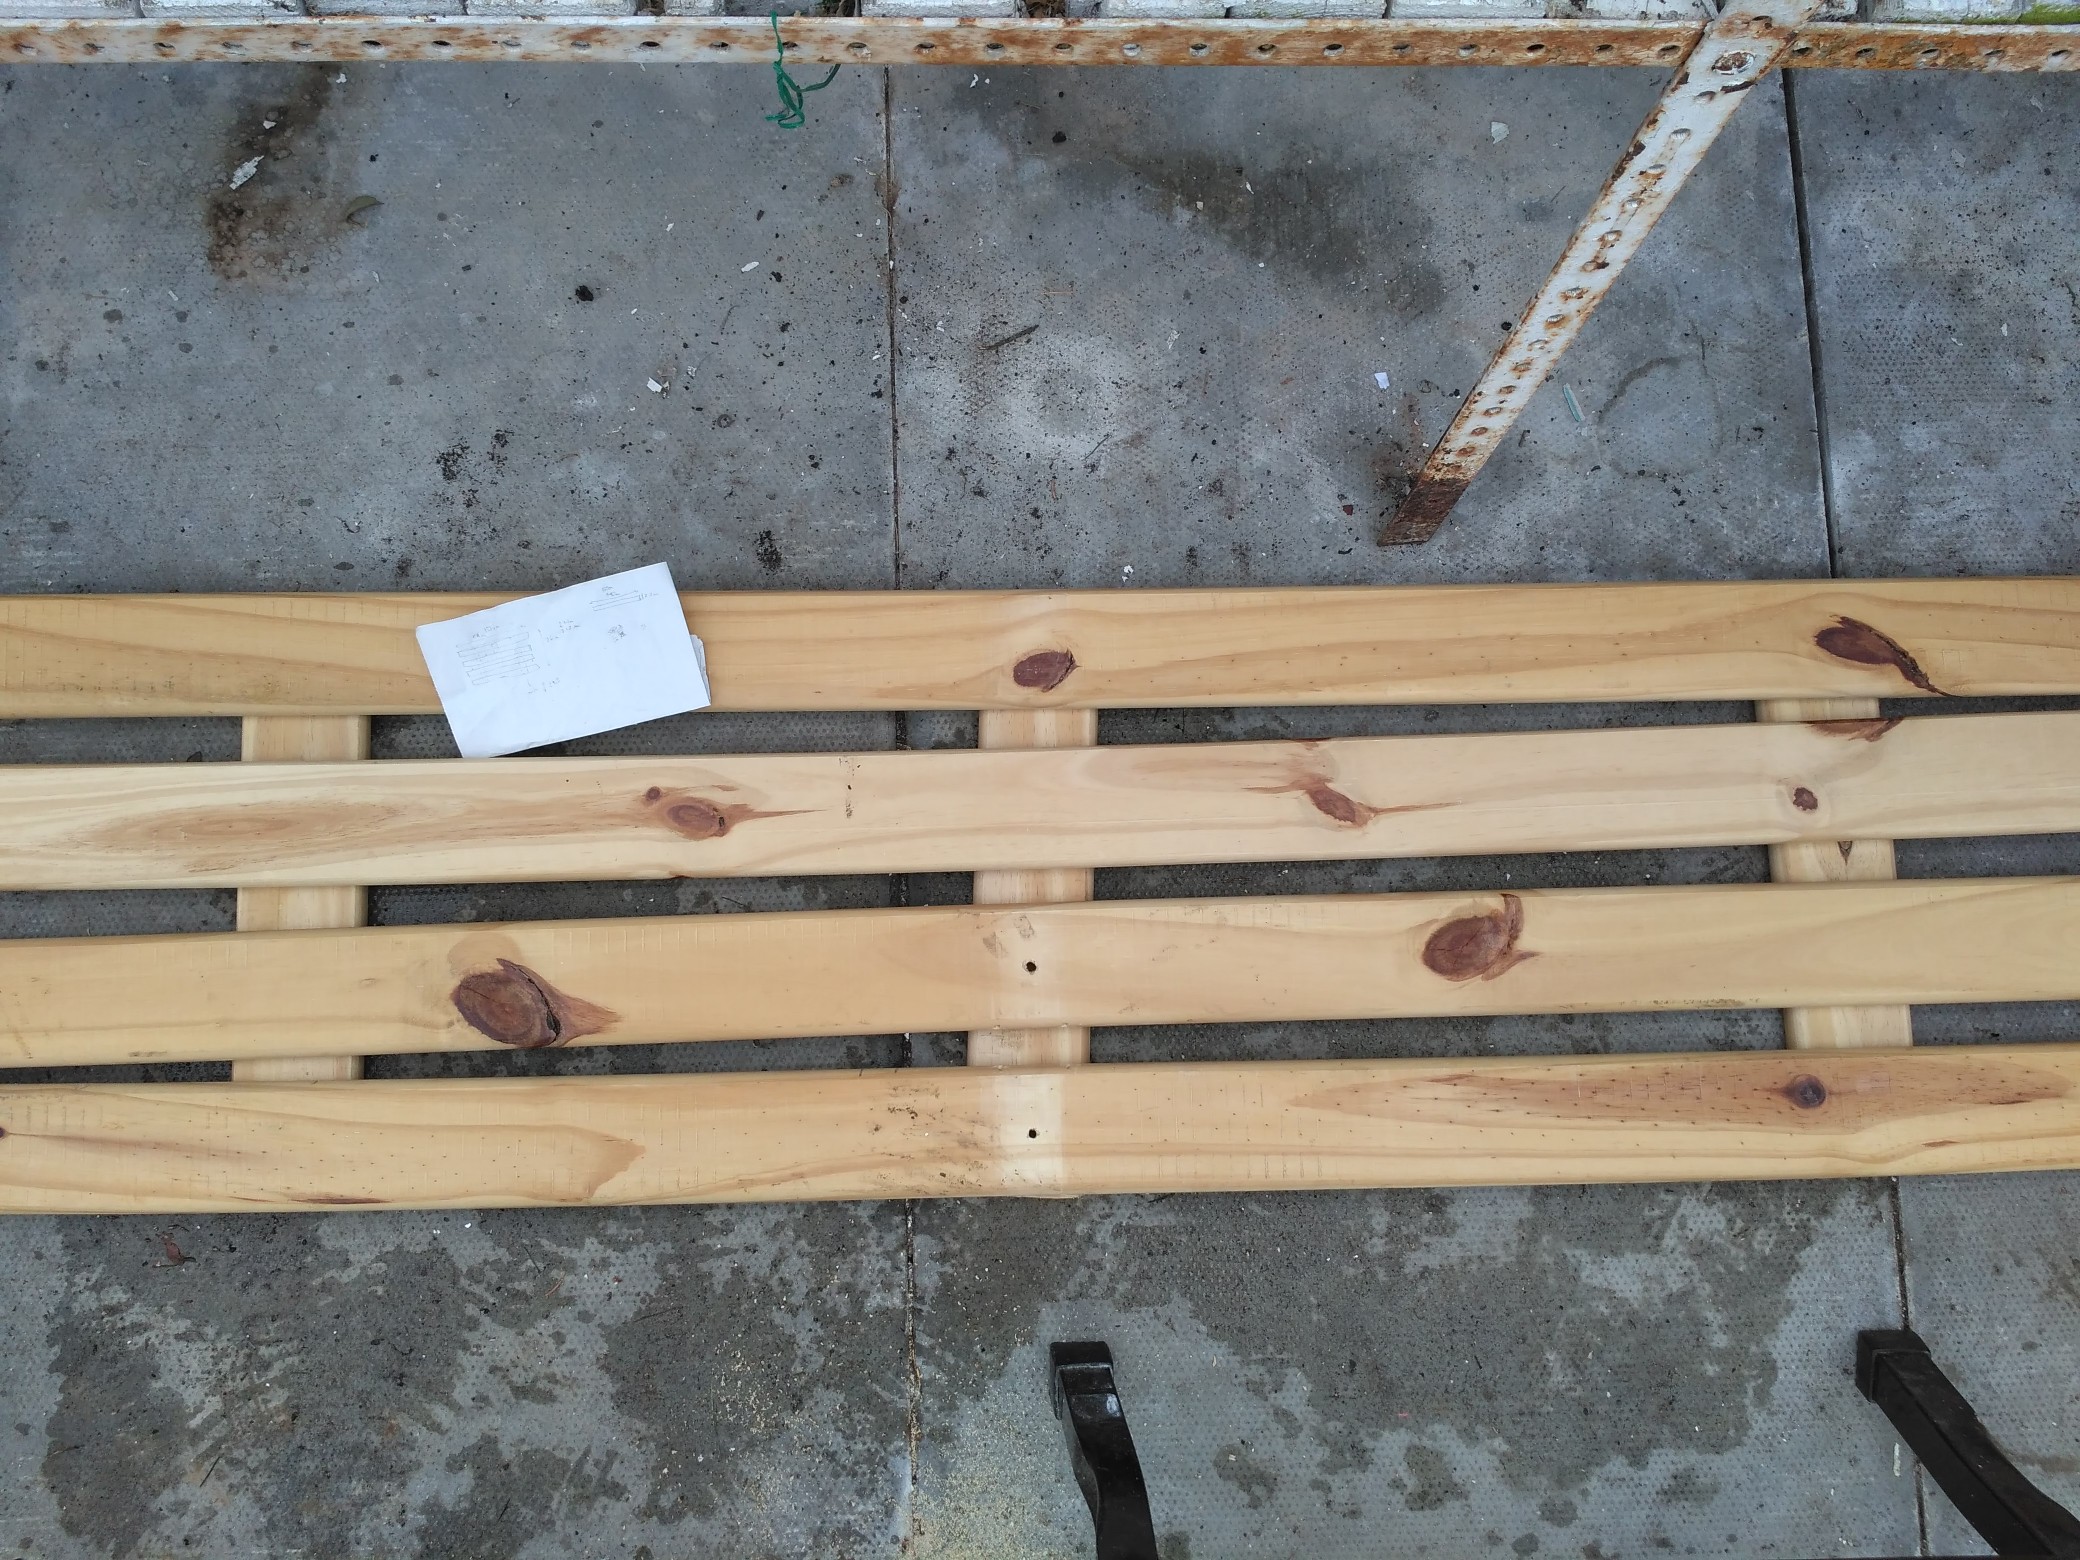
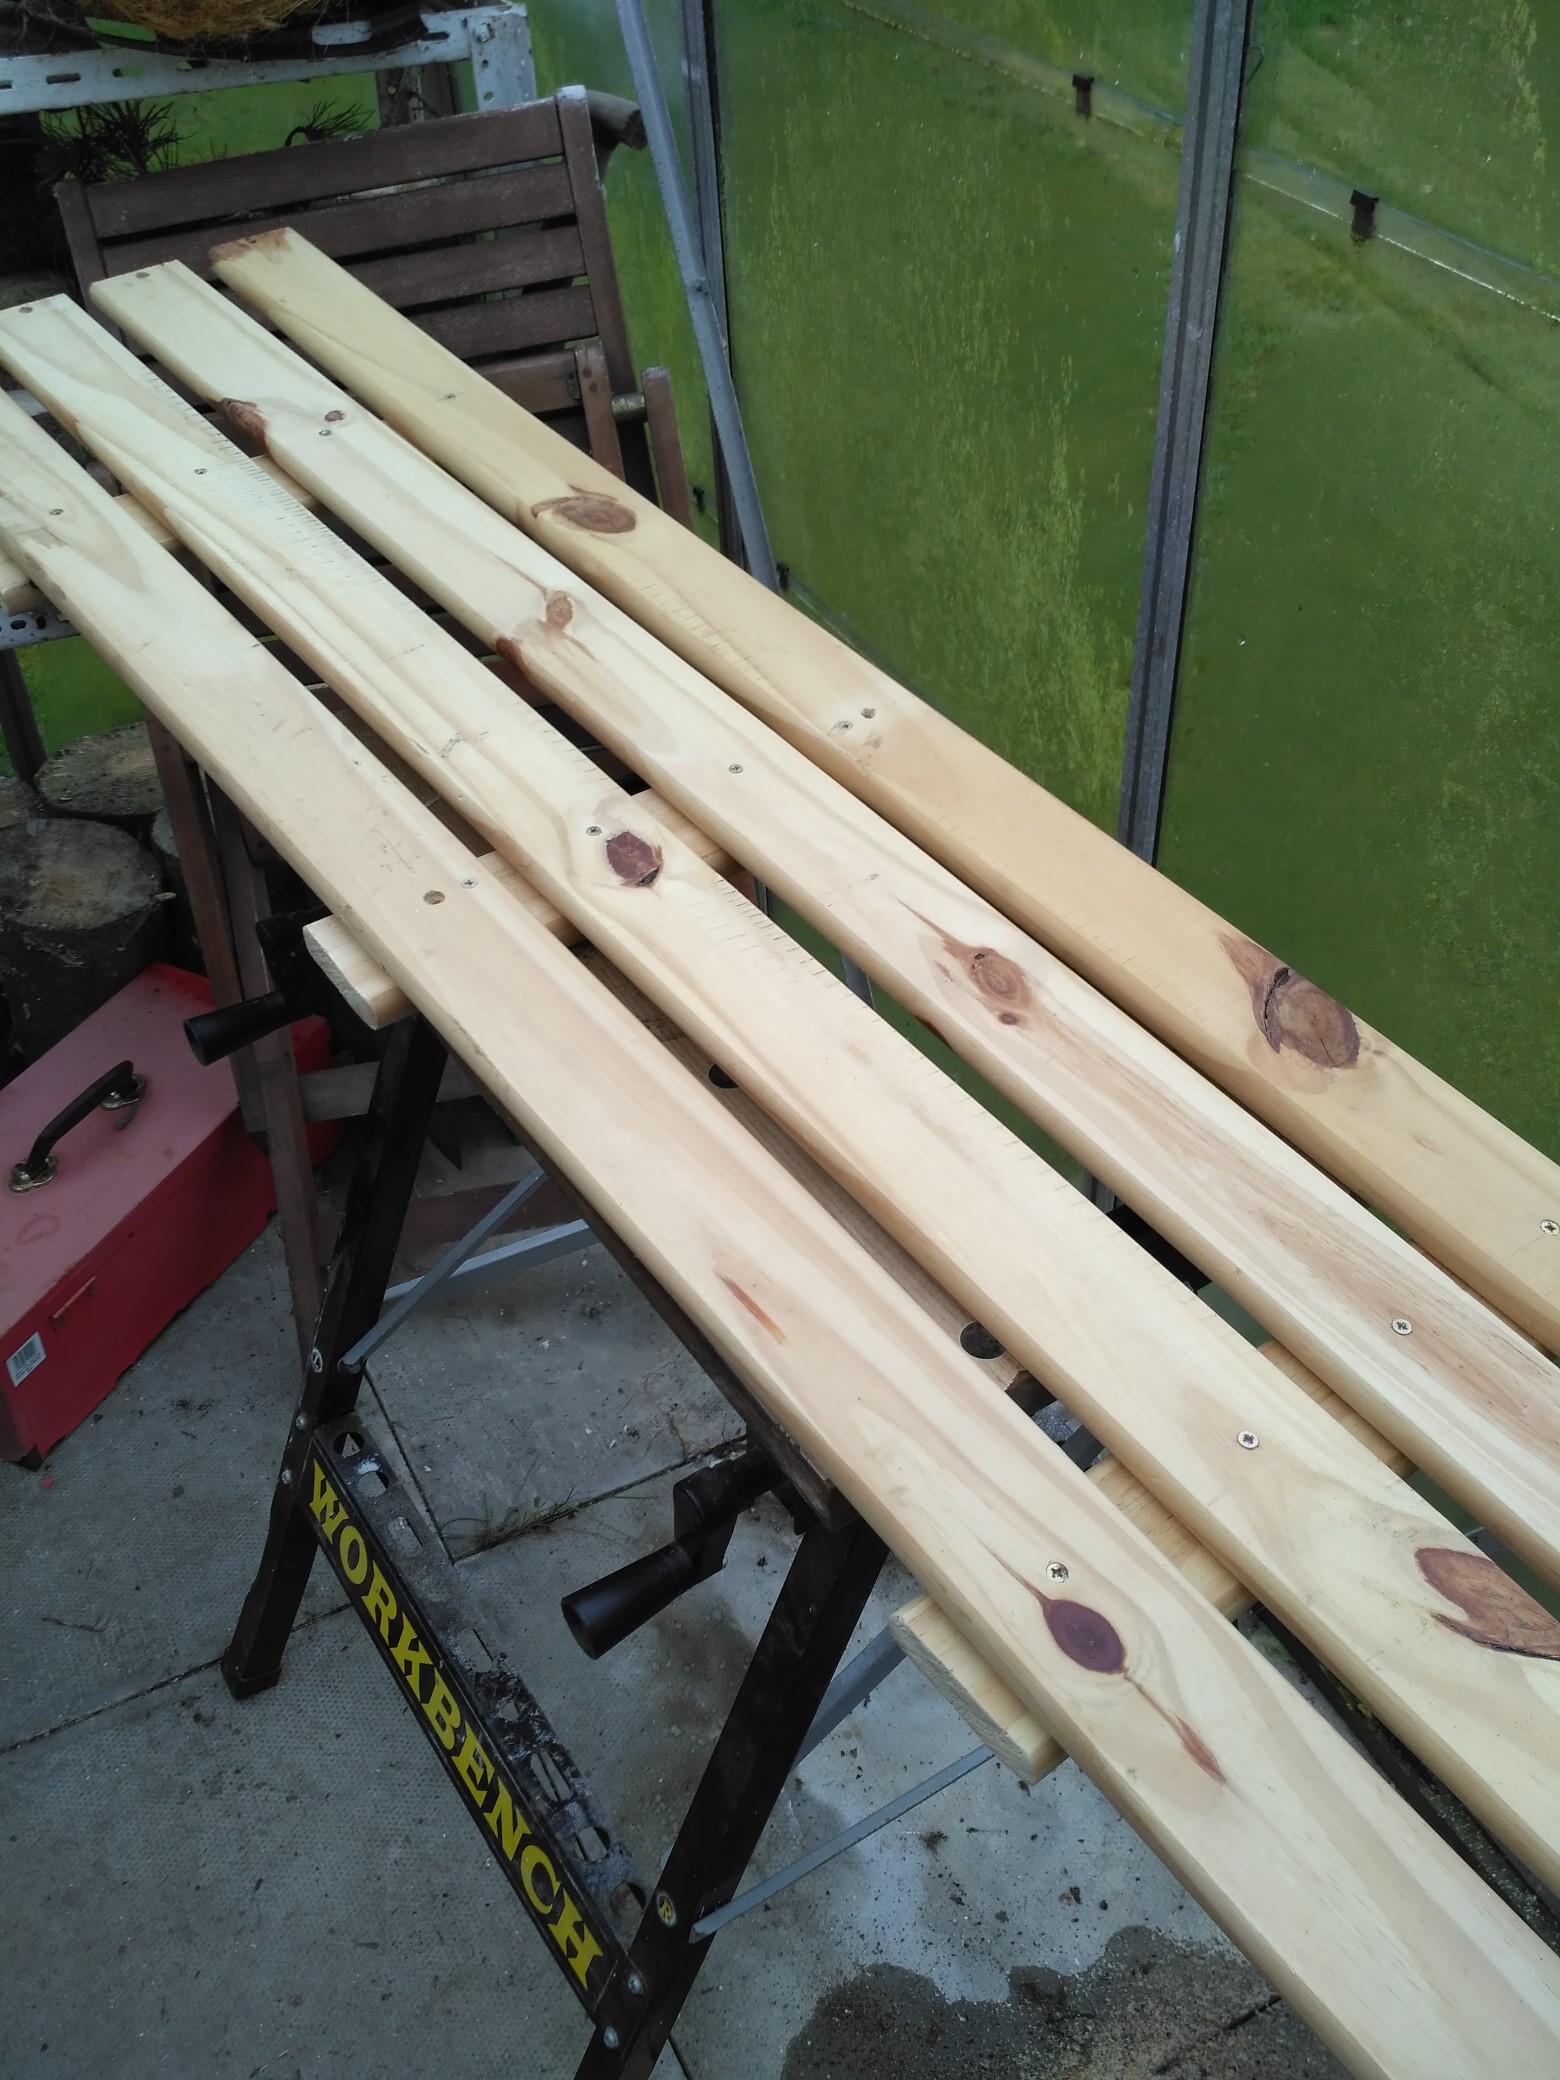
4. First planks are affixed.
5. All planks are affixed, but I discovered a mistake where the supporting planks have been marked just slightly shorter than they should have been, resulting in short pieces of wood sticking out. Subsequently, they were sawn off.
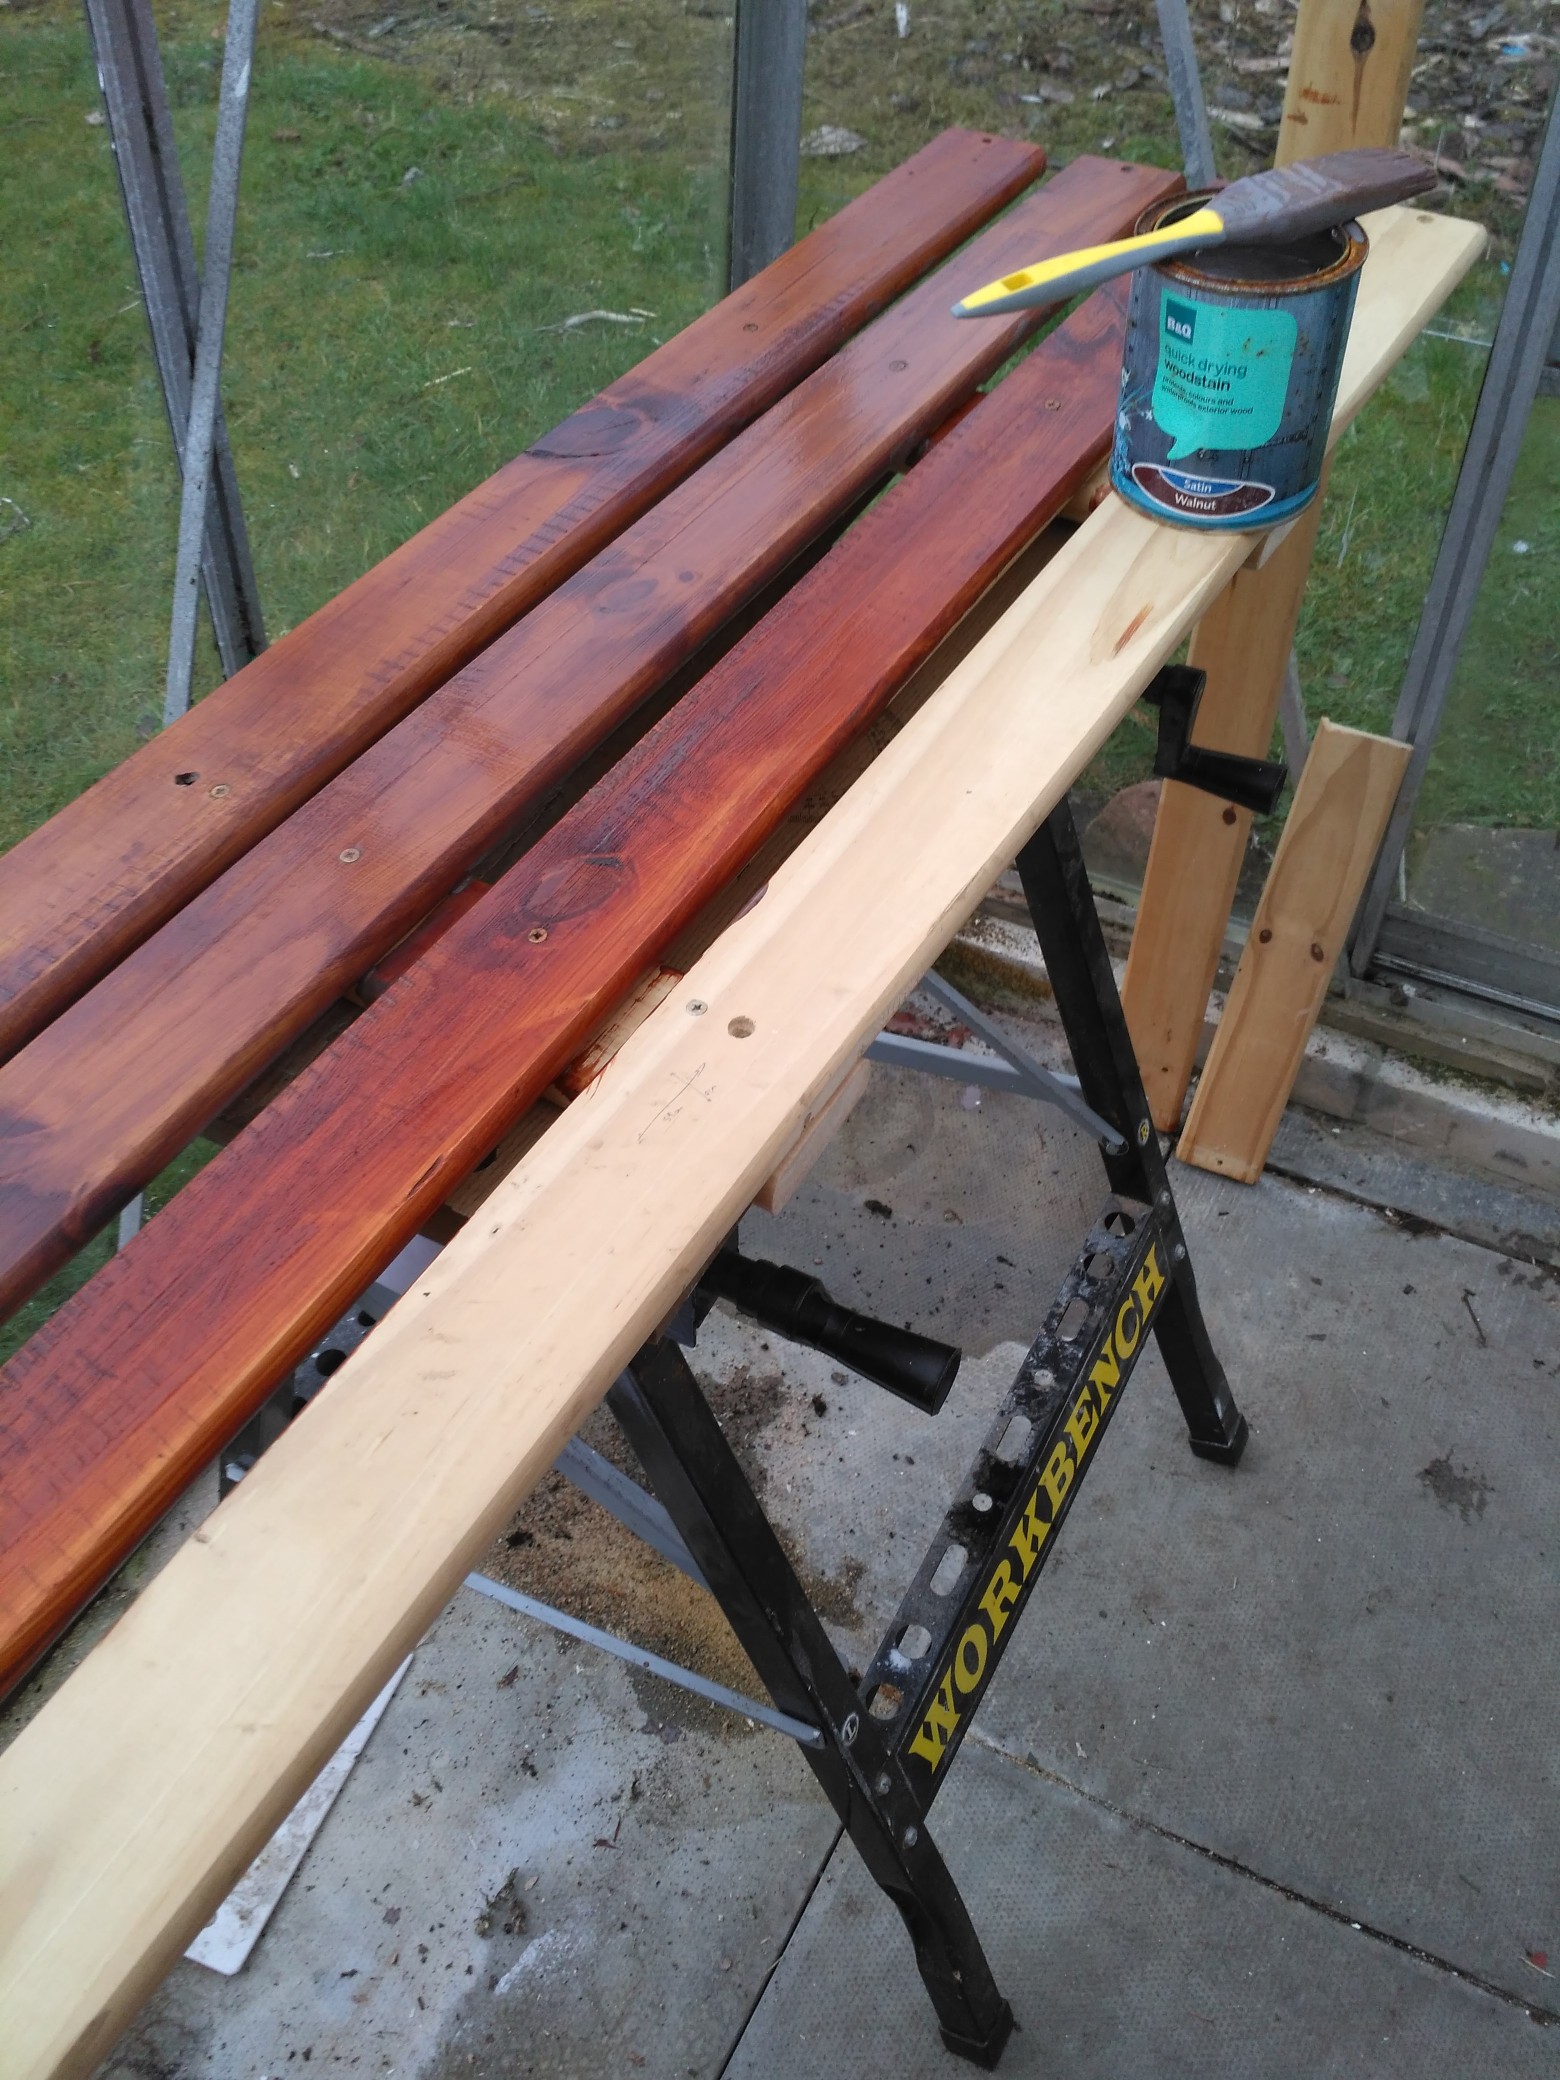
6. Once the bench top was finished, I have coated it three times with a suitable outdoor woodstain. What I discovered is: with a bench like this, I probably should have treated the wood first and then put it together to avoid any kind of gaps (in the coat). This stage took the longest, because of drying time.
7. The designated spot for the bench used to be many things: a quarry, a pool, then a horse stable and a dump but is currently used as a small park for dog walking. After asking the land owners permission, I set out to put the bench there.

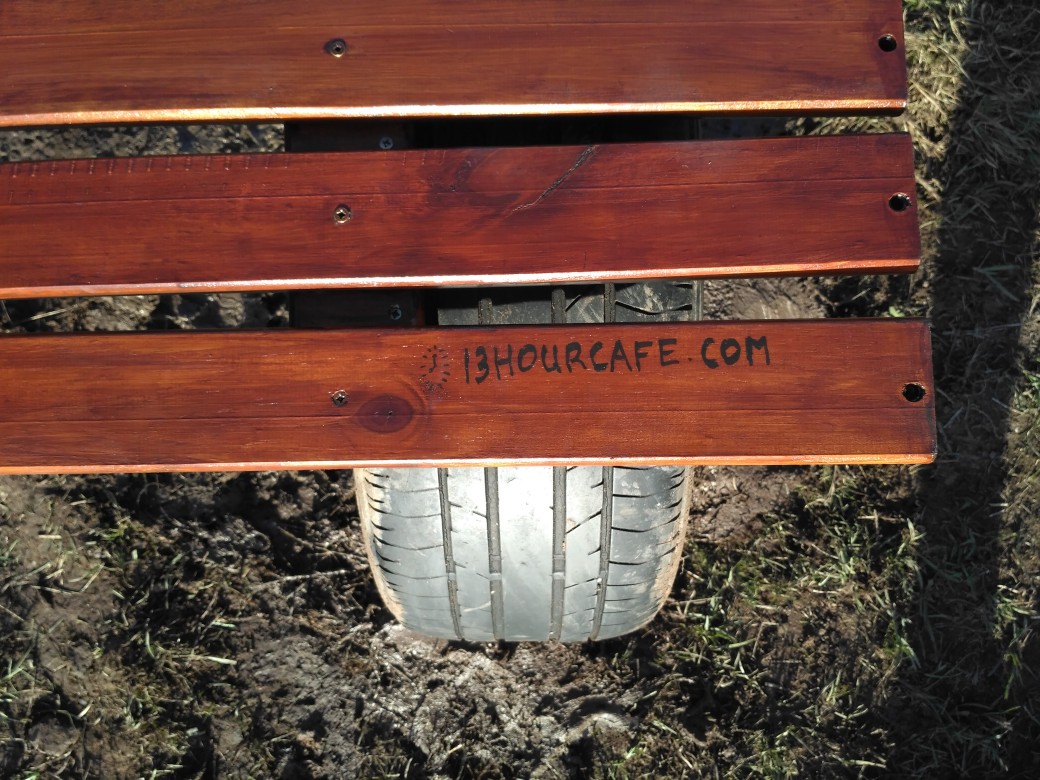
8. After rummaging around and find the most robust tyres, I’ve dug them in.

9. Once the ‘legs’ were set in, I’ve screwed in the top part to the rubber and tested the bench.
Conclusion.
The bench worked as the bench, although felt very ‘springy’ because of the nature of the wood and the tyres. It would probably would benefit from a middle support, and generally even more robust tyres.
P.s. I also have *very* professionally branded the bench with a permanent marker.
Pingback: HOW TO MAKE A BENCH VOL.3 – 13 Hour Cafe